Technical Resources
Azure Email Notifications
Setting Up Azure Email Notifications
FrameFlow offers a variety of outgoing mail server options to use for sending email alerts about the status of your event monitors, including Microsoft Exchange, Gmail, generic SMTP/POP3, and Microsoft Azure. This article will walk you through the setup required to begin sending email alerts through Azure.
Not looking to use Azure? We made a tutorial that covers the other email notification options here.
Steps Within Azure
To begin, you'll need to create an app registration and authentication profile for your Azure email notifications. The permission you'll need to add inside the app registration is called "Mail.Send". Full instructions on how to do this are in our Creating an Azure Authentication Profile article in the Technical Resources section. Feel free to contact Support for additional assistance.
Steps Within FrameFlow
To begin configuring email notifications through Azure, navigate to Settings > Notifications: Email Settings in your FrameFlow application. From there, click "Add Outgoing Mail Server" and choose "Microsoft Azure" from the "Mail Account Type" dropdown.
Next, add the email address you want the alerts to come from. Under "Authentication", select the authentication profile you created by following the steps in our Azure Notification Profile article.
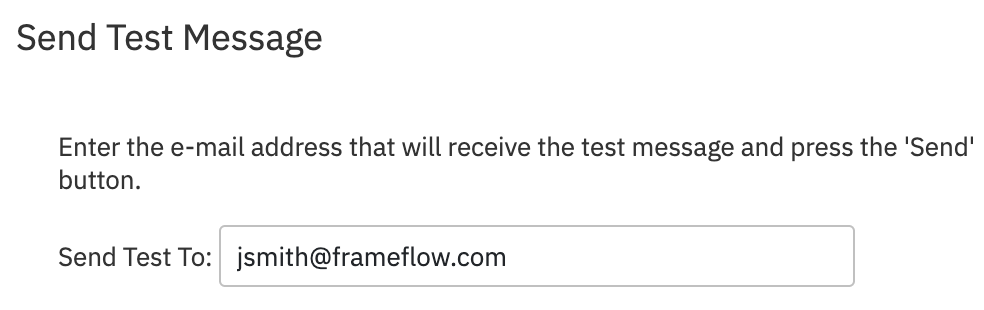
When you've filled in all the required information, you can send a test email using the "Test" button. In the resulting window, enter the email you want to receive the test. Note that the test email can only be sent to one address at a time.
Once you successfully receive the test email in the designated inbox, your Azure email notifications are ready to go! If you're having trouble, once again, don't hesitate to reach out to Support.